
How to add more photos to one product in a catalog
Name the photos of one product with a number at the end, like teddy-bear-1.jpg and teddy-bear-2.jpg, and drop them in together. They become one product, and a page with one product shows the extra photos.
Customers like to see a product from more than one side. A close-up shows the fabric, the stitching or the colour. That helps them decide to buy.
In this guide you will make a catalog with multiple photos per product. You give one product a main photo and a few extra photos. We use a small toy shop as the example. The steps are the same for clothes, jewellery, bags or furniture.
What you need:
- Two or three photos of each product. Phone photos are fine.
- A name for each photo. You can rename photos on your phone or computer.
Name your photos first
This is the most useful trick. Give all photos of one product the same name, with a number at the end:
teddy-bear-1.jpgteddy-bear-2.jpgteddy-bear-3.jpg
CatalogLeaf sees the same name and makes one product called "Teddy bear". The photo with the lowest number becomes the main photo.
You can also end the name with a word instead of a number: front, back, side, top or detail. For example, blue-kurta_front.jpg and blue-kurta_back.jpg become one product.
Photos with camera names, like IMG_2041.jpg, do not join together. Each one becomes its own product with no name.
Step 1: Start a new catalog
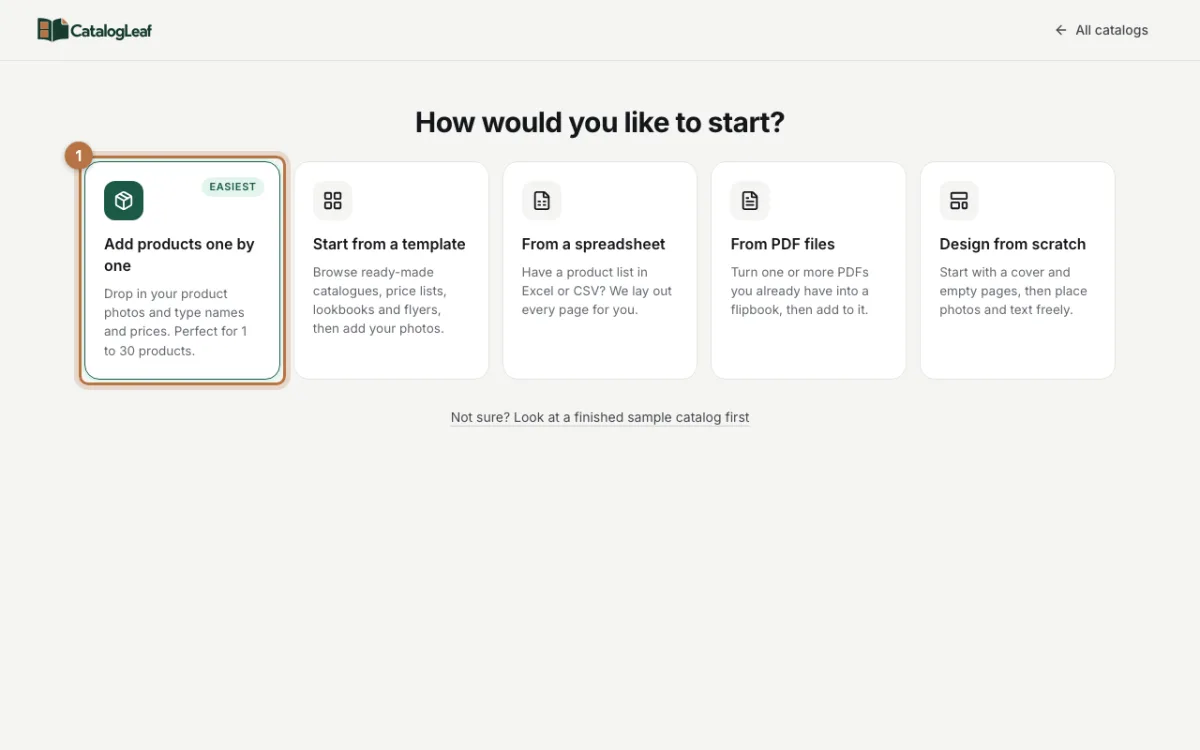
Open the new catalog page and click Add products one by one. This is the easiest way to start.
Step 2: Drop in all your photos
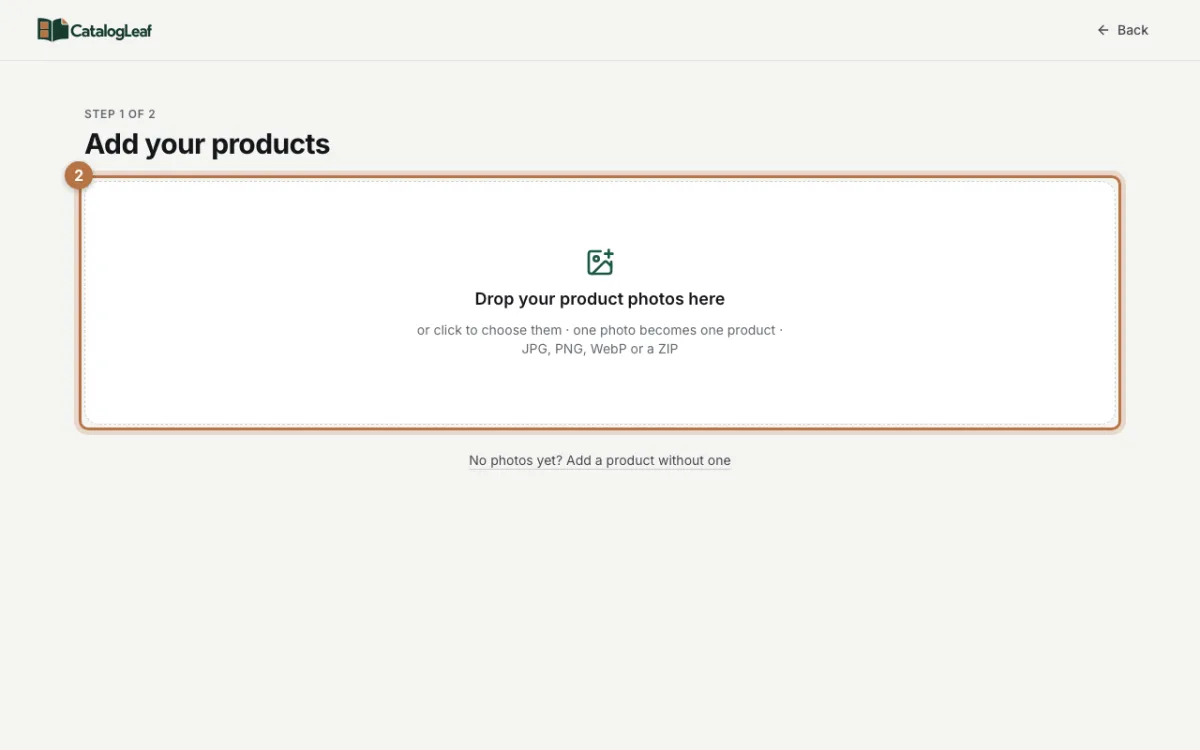
Drag all your photos into the big box at once. You can also click the box and choose them. Photos with the same name join one product.
Step 3: Check each product's photos
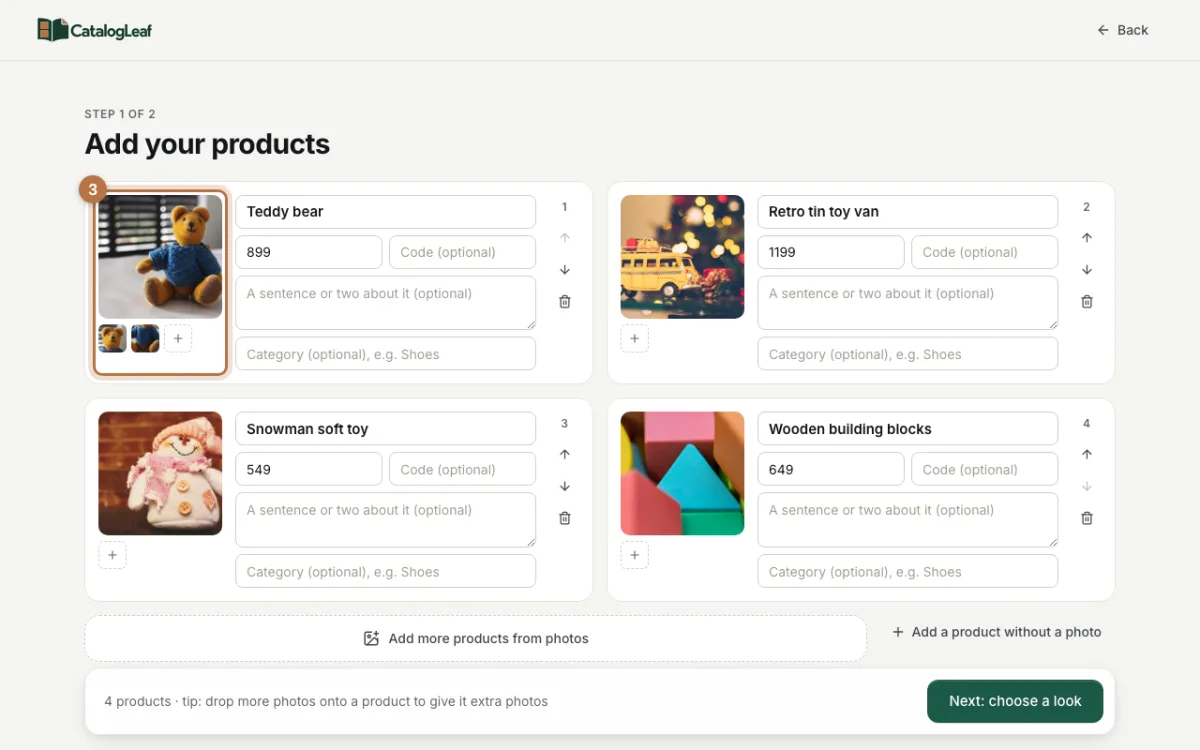
Each product now shows its main photo in a big square. The extra photos show as small squares under it. Type the price of each product.
To remove an extra photo, move your mouse over it and click the small x.
Step 4: Add another photo later
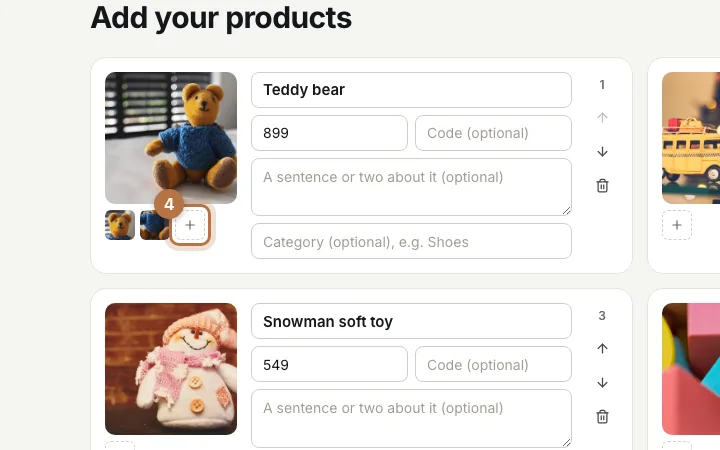
Forgot a photo? Click the small + under a product's photos and choose it. You can also drag a photo straight onto the product.
When all your products look right, click Next: choose a look.
Step 5: Pick one product on each page
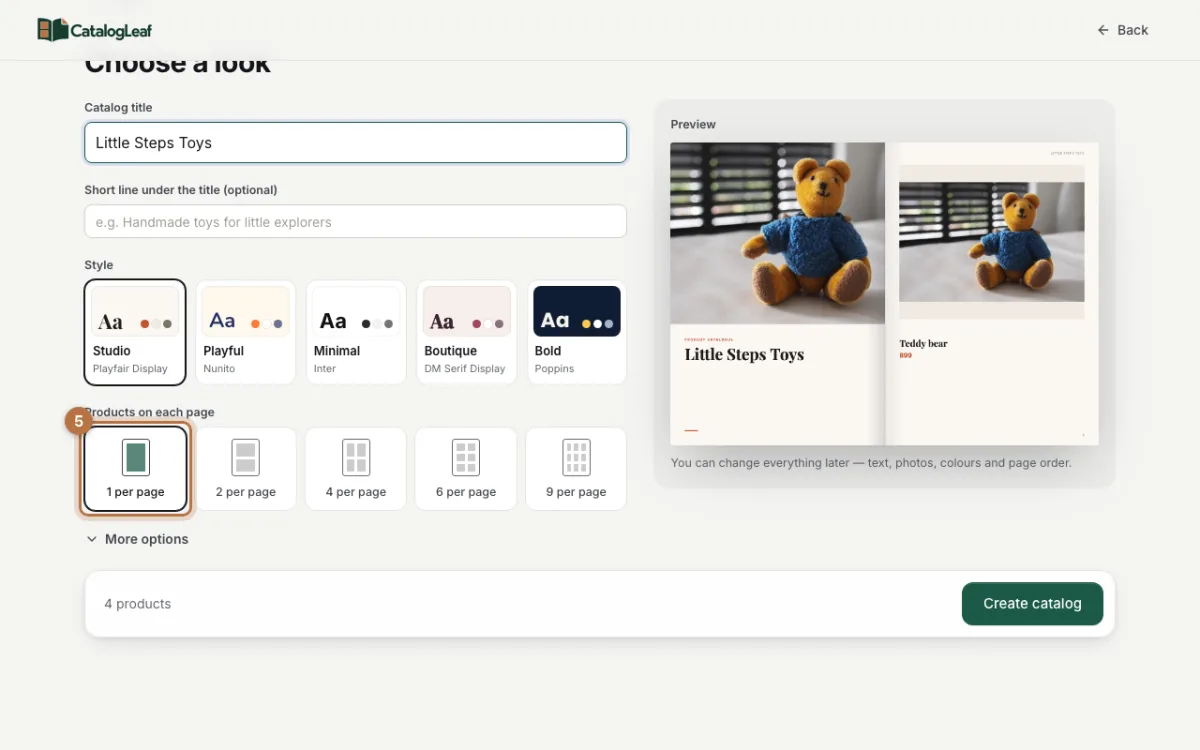
Type your catalog title. Then click 1 per page under "Products on each page".
This matters. When a page has two or more products, only the main photo shows. With one product on each page, there is room for the extra photos too.
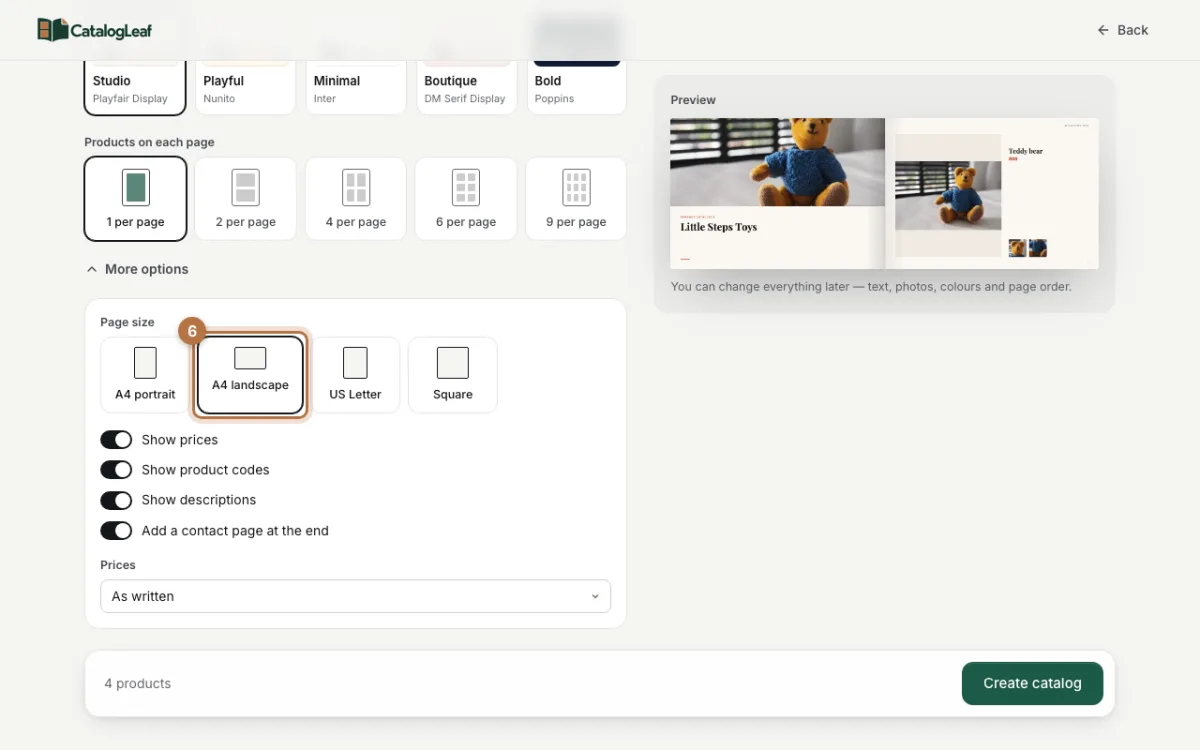
Step 6: Choose A4 landscape
Click More options and pick A4 landscape as the page size. On this page size, up to two extra photos show next to the main photo. Look at the preview on the right to check.
Then click Create catalog.
Your finished catalog page
Here is the teddy bear page from this guide:
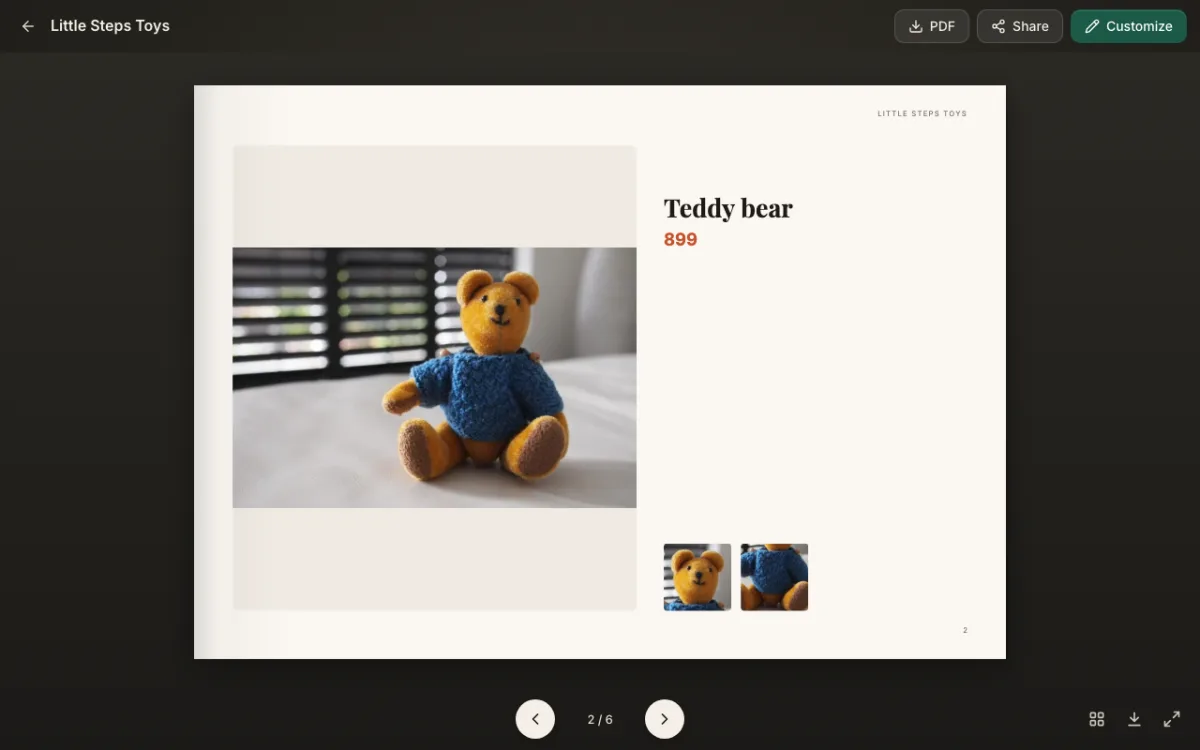
The main photo is big on the left. The name and price sit on the right. The two close-up photos sit under them, so customers see the face and the knitted jumper.
To send it, click PDF at the top. You can also click Share to send a link to a flipbook.
Tips for better product photos
- Take the main photo from the front, in good daylight.
- Use the extra photos for details: the back, the label, the inside or a close-up.
- Use the same plain background for all photos of one product.
- Drop all photos of one product together, in one go. Photos dropped at different times do not join.
- Keep names short and clear. The file name becomes the product name, so
teddy-bear-1.jpgsaves you typing.
Have only one photo per product? Read how to make a price list with photos. Want a full catalog PDF? See the catalog PDF maker.
Ready to try? Start a catalog from your photos and give your best products a few extra photos.